【Android】現在の端末の音量を取得してSoundPoolの音量を設定する(スマートフォンでカップ麺タイマーをつくる4)【Kotlin】

投稿日:2021年2月20日
最終更新日:2021年2月20日

端末の音量を取得してSoundPoolの音量を設定

前回書いた記事で、SoundPoolでアラームの音を鳴らした。ただ、今の方法だと音の大きさをKotlinのコード中で手打ちで設定しており、スマートフォン端末で設定した音量と合っていない。これだと音量を0にしていても音が鳴ってしまってちょっと困るので、端末に設定している音量に従った音量で、SoundPoolの音量を設定するようにしてみる。


環境

開発PC環境

Windows 10
Android Studio 4.1.1

実行Android環境

機種:Xperia X Performance SOV33

Androidバージョン:7.0


オーディオファイル(mp3)の置き場所

まず、android.content.Contextをインポートする。

import android.content.Context

次に、以下のようにgetStreamVolumeで音量を取得するのだが、返り値はintになっている。SoundPoolのplayで指定するのは0.0f~1.0fのfloatなので、getStreamVolumeで現在の音量を、getStreamMaxVolumeで最大音量を取得してFloatに変換し、割ることで最大値に対する現在の音量の割合をfloatで算出してSoundPoolのplayで設定している。

val am = getSystemService(Context.AUDIO_SERVICE) as AudioManager
val alarmVol: Float = am.getStreamVolume(AudioManager.STREAM_RING).toFloat()
var alarmMaxVol: Float = am.getStreamMaxVolume(AudioManager.STREAM_RING).toFloat()
var setVol: Float = (alarmVol / alarmMaxVol).toFloat()
soundPool.play(soundAlarm, setVol, setVol, 0, 0, 1.0f)

もっと良い方法がありそうな気がするが、とりあえず今回はこれでデバイスの音量を設定することが出来た。


Kotlinのコードとレイアウト

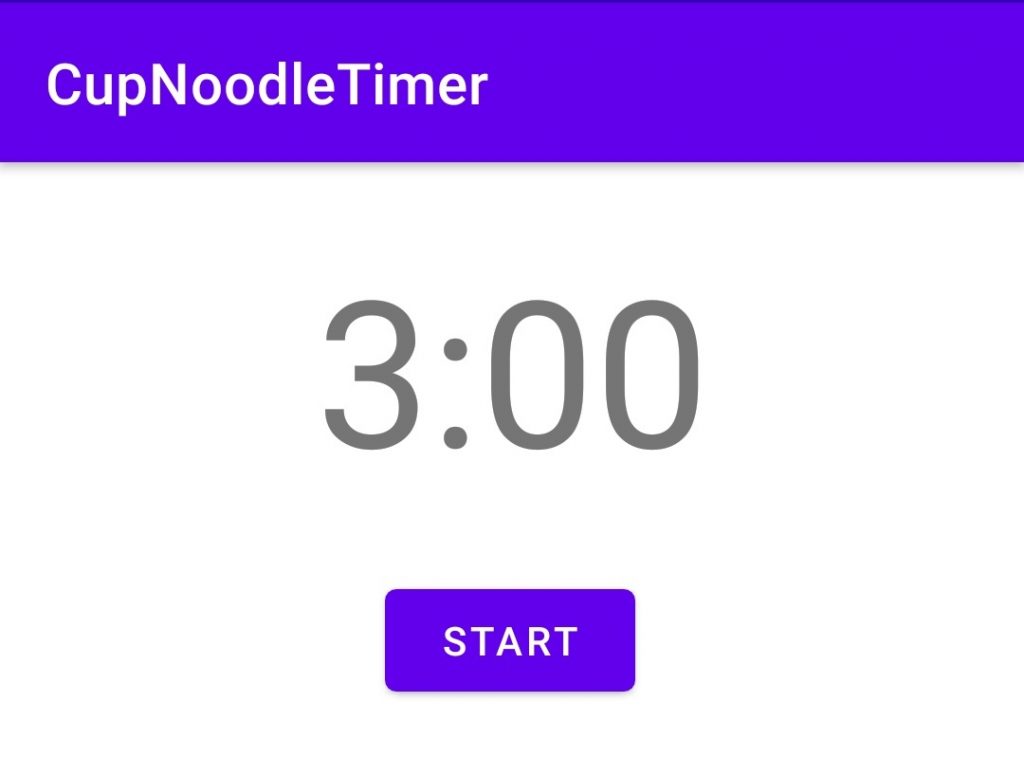
上記のコードは以下のカップ麺タイマーのコードから引用している。

package com.example.cupnoodletimer
import android.content.Context
import android.media.AudioAttributes
import android.media.AudioManager
import android.media.SoundPool
import android.os.*
import android.widget.Button
import android.widget.TextView
import androidx.annotation.RequiresApi
import androidx.appcompat.app.AppCompatActivity
class MainActivity : AppCompatActivity() {
val TIMERTIME: Long = 180000;
lateinit var timerText: TextView
lateinit var timer: CountDownTimer
var isRunning: Boolean = false;
lateinit var soundPool: SoundPool
var soundAlarm = 0
@RequiresApi(Build.VERSION_CODES.LOLLIPOP)
override fun onCreate(savedInstanceState: Bundle?) {
super.onCreate(savedInstanceState)
setContentView(R.layout.activity_main)
val startButton: Button = findViewById(R.id.buttonStart)
val vibrator = getSystemService(Context.VIBRATOR_SERVICE) as Vibrator
val audioAttributes = AudioAttributes.Builder()
.setUsage(AudioAttributes.USAGE_ALARM)
.setContentType(AudioAttributes.CONTENT_TYPE_SPEECH)
.build()
soundPool = SoundPool.Builder()
.setAudioAttributes(audioAttributes)
.setMaxStreams(1)
.build()
startButton.setOnClickListener {
if (isRunning) {
timer.cancel()
setTime(TIMERTIME)
isRunning = false
startButton.text = "START"
} else {
soundAlarm = soundPool.load(this, R.raw.alarm, 1)
timer = object : CountDownTimer(TIMERTIME, 1000) {
override fun onTick(millisUntilFinished: Long) {
setTime(millisUntilFinished)
}
override fun onFinish() {
setTime(0)
isRunning = false
startButton.text = "RESTART"
if (android.os.Build.VERSION.SDK_INT >= android.os.Build.VERSION_CODES.O) {
val vibrationEffect = VibrationEffect.createOneShot(5000, VibrationEffect.DEFAULT_AMPLITUDE)
vibrator.vibrate(vibrationEffect)
} else {
vibrator.vibrate(5000)
}
val am = getSystemService(Context.AUDIO_SERVICE) as AudioManager
val alarmVol: Float = am.getStreamVolume(AudioManager.STREAM_RING).toFloat()
var alarmMaxVol: Float = am.getStreamMaxVolume(AudioManager.STREAM_RING).toFloat()
var setVol: Float = (alarmVol / alarmMaxVol).toFloat()
soundPool.play(soundAlarm, setVol, setVol, 0, 0, 1.0f)
}
}
timer.start()
isRunning = true
startButton.text = "RESET"
}
}
}
private fun setTime(t: Long) {
timerText = findViewById(R.id.textViewTime)
var time: Long = t
var minutes: Long = (time / 1000) / 60
var seconds: Long = (time / 1000) % 60
timerText.setText("%d:%02d".format(minutes, seconds))
}
}

こちらがレイアウトのxml。レイアウトは前回の記事と変わっていない。

<?xml version="1.0" encoding="utf-8"?>
<androidx.constraintlayout.widget.ConstraintLayout xmlns:android="http://schemas.android.com/apk/res/android"
xmlns:app="http://schemas.android.com/apk/res-auto"
xmlns:tools="http://schemas.android.com/tools"
android:layout_width="match_parent"
android:layout_height="match_parent"
tools:context=".MainActivity">
<TextView
android:id="@+id/textViewTime"
android:layout_width="wrap_content"
android:layout_height="wrap_content"
android:layout_marginTop="24dp"
android:text="3:00"
android:textSize="72sp"
app:layout_constraintEnd_toEndOf="parent"
app:layout_constraintStart_toStartOf="parent"
app:layout_constraintTop_toTopOf="parent" />
<Button
android:id="@+id/buttonStart"
android:layout_width="wrap_content"
android:layout_height="wrap_content"
android:layout_marginTop="24dp"
android:text="START"
app:layout_constraintEnd_toEndOf="parent"
app:layout_constraintHorizontal_bias="0.498"
app:layout_constraintStart_toStartOf="parent"
app:layout_constraintTop_toBottomOf="@+id/textViewTime" />
</androidx.constraintlayout.widget.ConstraintLayout>

実行画面も前回と変わらないので省略するが、これでタイマーが0になったときにアラームで通知されるようになった。ただ、実装してから気づいたけどSoundPoolで音を鳴らすとスマホで設定した音量ではアラームが再生されず、あくまでSoundPool.playのrightVolumeとleftVolumeで設定した音量でされてしまう。

これだと音量を小さく設定していても大きな音でアラームが鳴ってしまってちょっと困るので、次回は現在のスマホの設定ボリュームを取得して、その値をrightVolume/leftVolumeに設定するようにコードを変えてみたいと思う。


参考文献

今回は以下のサイトを参考にさせて頂きましたm(_ _)m

AudioManager | Android デベロッパー | Android Developers

ANDROIDの音量を設定する


Androidアプリをつくって遊ぼう日記まとめ

以下にAndoirdアプリで遊んでみた軌跡を残しています。興味があればのぞいてみてください。

【Android】Androidアプリをつくって遊ぼう日記

0

投稿者: wakky

映画と旅行が大好きなエンジニア。お酒、ゲーム、読書も好き。

コメントを残す

メールアドレスが公開されることはありません。 が付いている欄は必須項目です

このサイトはスパムを低減するために Akismet を使っています。コメントデータの処理方法の詳細はこちらをご覧ください