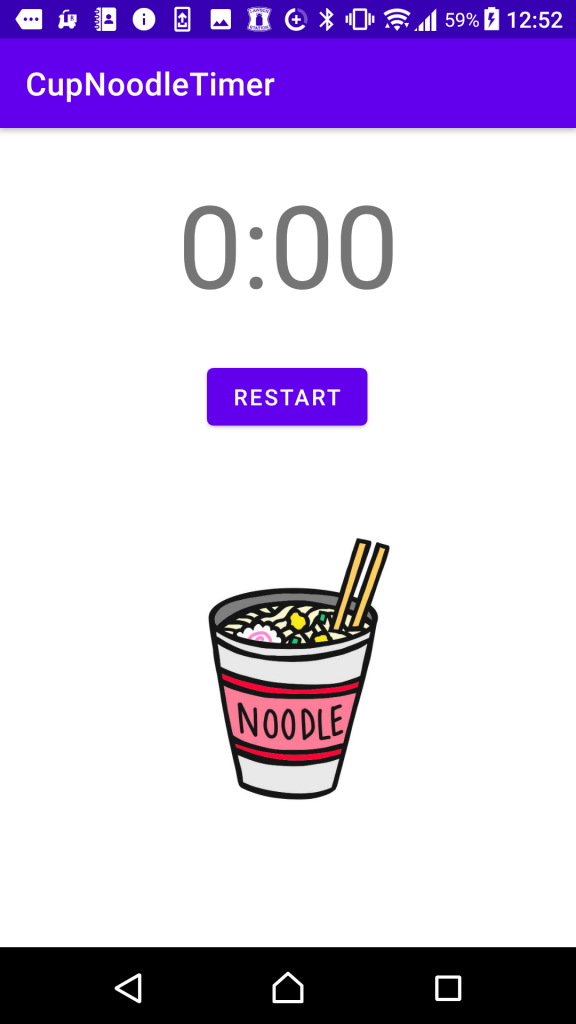
カップ麺タイマーに通知のバイブレーションを追加
カップ麺タイマーを作る第一歩として、前回はカウントダウンするタイマーを実装した。タイマーが0になったときに何かしらの通知があった方がわかりやすいので、今回はバイブレーション機能を使って、時間が0になったらスマホを振動させてみる。
環境
開発PC環境
Windows 10
Android Studio 4.1.1
実行Android環境
機種:Xperia X Performance SOV33
Androidバージョン:7.0
Kotlinのコードとレイアウト
今回は参考文献のコードを参考に以下のようにMainActivityのKotlinコードを書いた。前回実装したCountDownTimerのonFinishでバイブレーションを呼び出して、5秒(5000ミリ秒)間振動させている。参考文献に詳しく書いてあるが、AndroidのAPI level 26 (Android 8.0 Oreo)から使い方が変わっているので、どのAndroidバージョンでも呼び出せるようにしている。
package com.example.cupnoodletimer | |
import android.content.Context | |
import android.os.Bundle | |
import android.os.CountDownTimer | |
import android.os.VibrationEffect | |
import android.os.Vibrator | |
import android.widget.Button | |
import android.widget.TextView | |
import androidx.appcompat.app.AppCompatActivity | |
class MainActivity : AppCompatActivity() { | |
val TIMERTIME: Long = 180000; | |
lateinit var timerText: TextView | |
lateinit var timer: CountDownTimer | |
var isRunning: Boolean = false; | |
override fun onCreate(savedInstanceState: Bundle?) { | |
super.onCreate(savedInstanceState) | |
setContentView(R.layout.activity_main) | |
val startButton: Button = findViewById(R.id.buttonStart) | |
val vibrator = getSystemService(Context.VIBRATOR_SERVICE) as Vibrator | |
startButton.setOnClickListener { | |
if (isRunning) { | |
timer.cancel() | |
setTime(TIMERTIME) | |
isRunning = false | |
startButton.text = "START" | |
} else { | |
timer = object : CountDownTimer(TIMERTIME, 1000) { | |
override fun onTick(millisUntilFinished: Long) { | |
setTime(millisUntilFinished) | |
} | |
override fun onFinish() { | |
setTime(0) | |
isRunning = false | |
startButton.text = "RESTART" | |
if (android.os.Build.VERSION.SDK_INT >= android.os.Build.VERSION_CODES.O) { | |
val vibrationEffect = VibrationEffect.createOneShot(5000, VibrationEffect.DEFAULT_AMPLITUDE) | |
vibrator.vibrate(vibrationEffect) | |
} else { | |
vibrator.vibrate(5000) | |
} | |
} | |
} | |
timer.start() | |
isRunning = true | |
startButton.text = "RESET" | |
} | |
} | |
} | |
private fun setTime(t: Long) { | |
timerText = findViewById(R.id.textViewTime) | |
var time: Long = t | |
var minutes: Long = (time / 1000) / 60 | |
var seconds: Long = (time / 1000) % 60 | |
timerText.setText("%d:%02d".format(minutes, seconds)) | |
} | |
} |
なお、AndroidManifest.xmlに以下を追加してバイブレーションのパーミッションを追加する必要があるので注意。直接追加しても良いが、kotlinのMainActivityにバイブレーションのコードを書いて、Alt + Enterで追加しても良い。
<uses-permission android:name="android.permission.VIBRATE" />
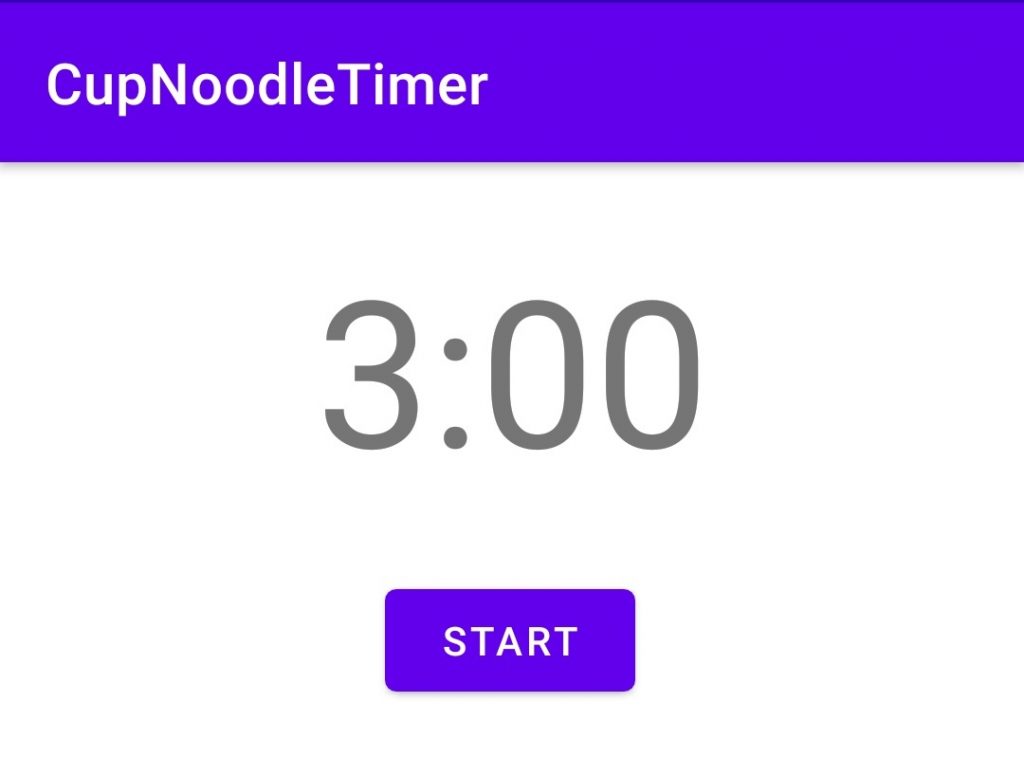
こちらがレイアウトのxmlだが、レイアウトは前回の記事と変わっていない。
<?xml version="1.0" encoding="utf-8"?> | |
<androidx.constraintlayout.widget.ConstraintLayout xmlns:android="http://schemas.android.com/apk/res/android" | |
xmlns:app="http://schemas.android.com/apk/res-auto" | |
xmlns:tools="http://schemas.android.com/tools" | |
android:layout_width="match_parent" | |
android:layout_height="match_parent" | |
tools:context=".MainActivity"> | |
<TextView | |
android:id="@+id/textViewTime" | |
android:layout_width="wrap_content" | |
android:layout_height="wrap_content" | |
android:layout_marginTop="24dp" | |
android:text="3:00" | |
android:textSize="72sp" | |
app:layout_constraintEnd_toEndOf="parent" | |
app:layout_constraintStart_toStartOf="parent" | |
app:layout_constraintTop_toTopOf="parent" /> | |
<Button | |
android:id="@+id/buttonStart" | |
android:layout_width="wrap_content" | |
android:layout_height="wrap_content" | |
android:layout_marginTop="24dp" | |
android:text="START" | |
app:layout_constraintEnd_toEndOf="parent" | |
app:layout_constraintHorizontal_bias="0.498" | |
app:layout_constraintStart_toStartOf="parent" | |
app:layout_constraintTop_toBottomOf="@+id/textViewTime" /> | |
</androidx.constraintlayout.widget.ConstraintLayout> |
実行画面も前回と変わらないので省略するが、これでタイマーが0になったときに振動で通知されるようになった。次回はさらに通知をわかりやすくするために、タイマーが0になったら音を鳴らせるようにしたいと思う。
参考文献
今回は以下のサイトを参考にさせて頂きましたm(_ _)m
Androidアプリをつくって遊ぼう日記まとめ
以下にAndoirdアプリで遊んでみた軌跡を残しています。興味があればのぞいてみてください。